An aesthetic experiment.
Development blog for multiple RPG Maker video game projects
An aesthetic experiment.
I’ve made The Club 960×540 resolution. This is exactly half the common resolution 1920×1080.
I’ve made The Mountain 960×528. The game is made up of 48×48 tiles, so I’ve chosen a resolution that is a multiple of 48.
The earliest screenshots in this blog show a much larger 1024×624 resolution. I decided to switch to a smaller size because:
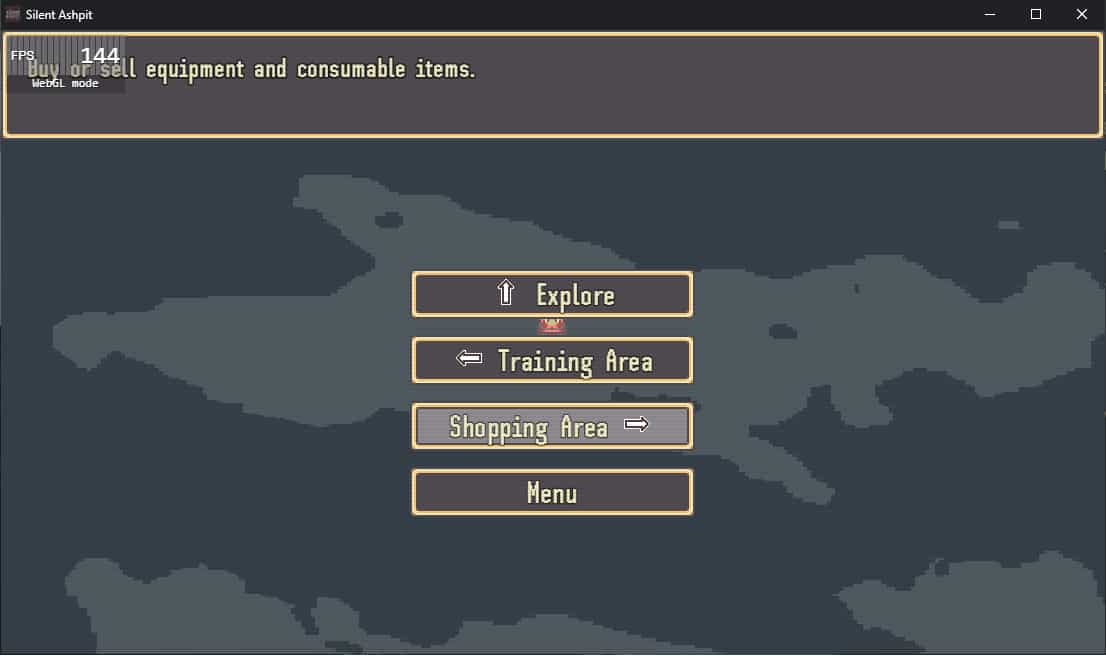
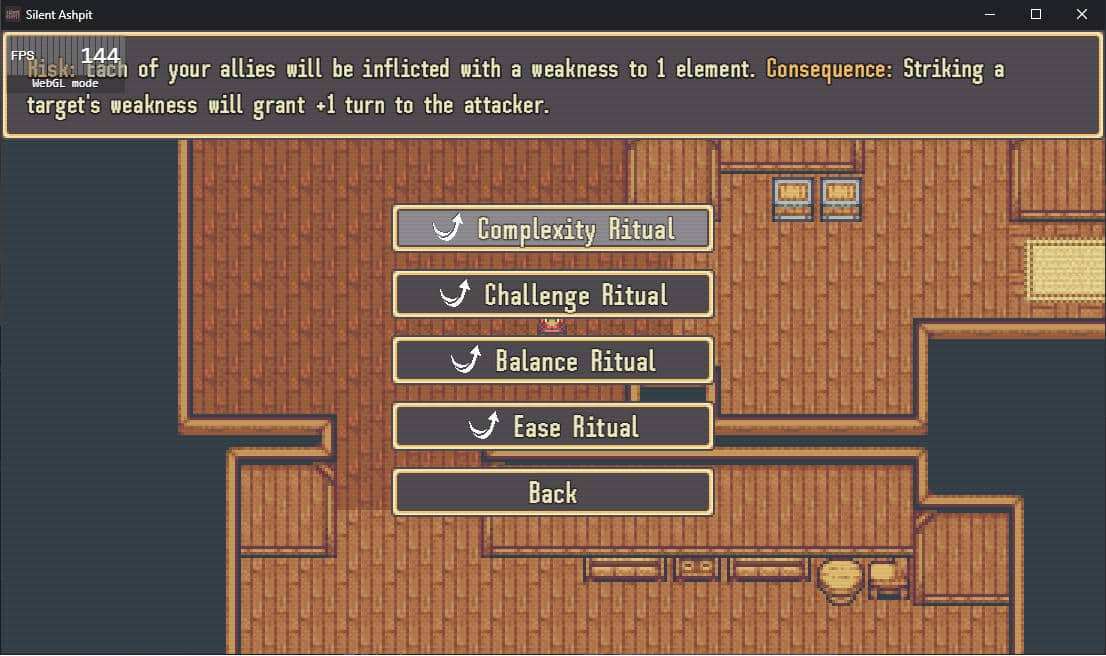
I abstracted walking through towns to be a simple menu, like the Persona ports to portable systems.


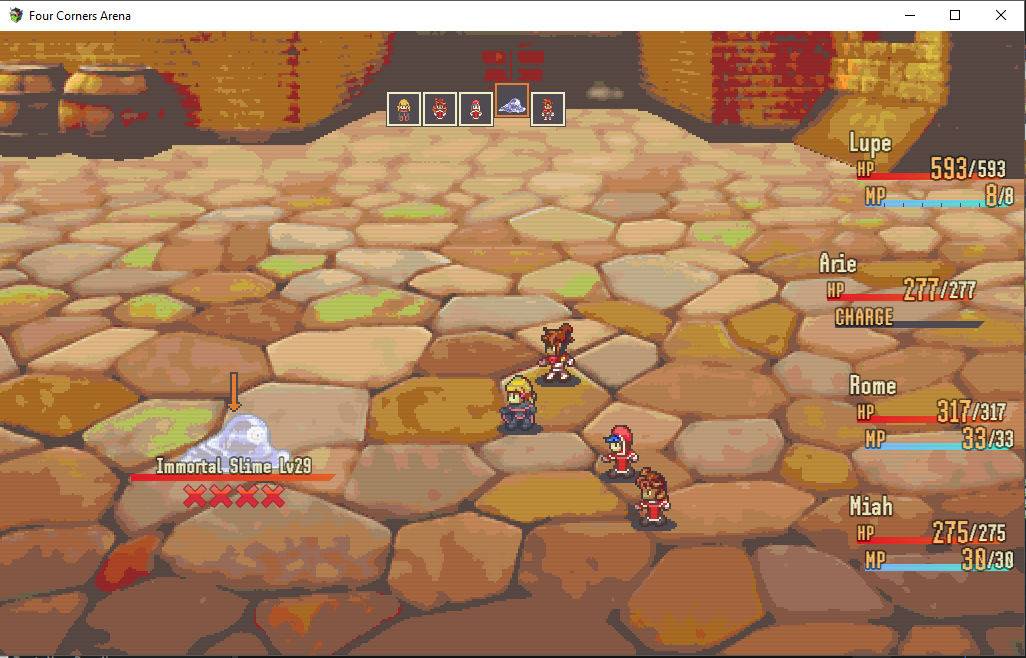
I bought and added two premium plugins to the project: Side Status Battle UI and Weakness Display.
Together, they simplify the game’s battle interface. The re-positioned windows keep the player’s focus closer to the relevant actors.
Targeting an actor will cause their status window to slide forward slightly. By a happy coincidence, their character portrait in the timeline display also bobs upward. It makes the interface feel cohesive.
But it’s not flawless. As you can see, when the 4th party member chooses their action, their status is partially obscured.

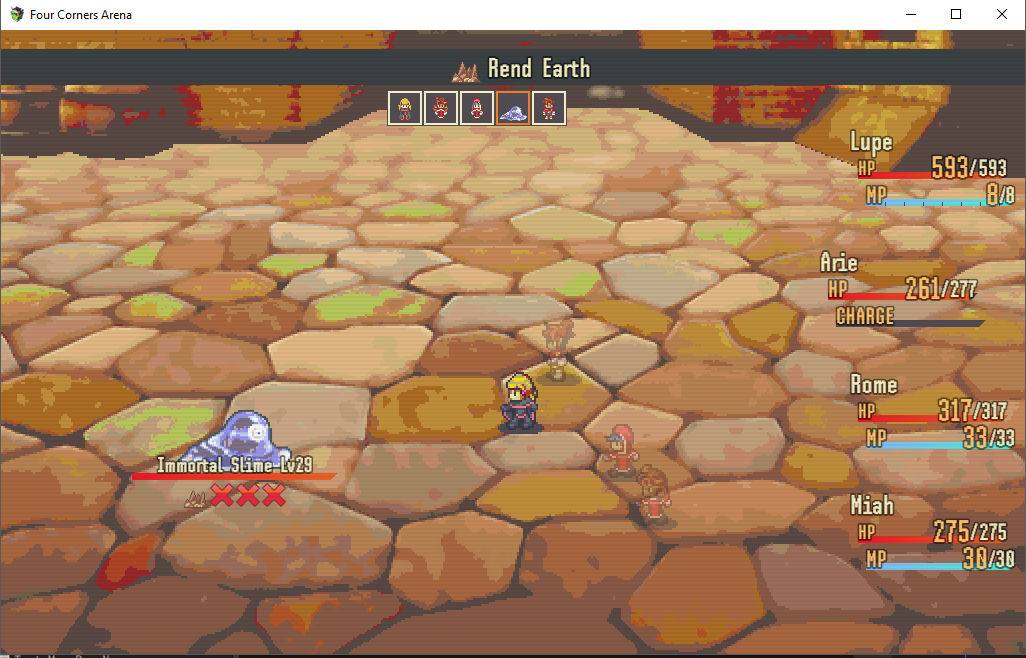
An enemy’s name, health, and status ailments are shown when you target them.
The plugin also adds new functionality, showing an icon for each of the enemy’s potential weaknesses. Strike the weakness, and it’s revealed so you can remember for next time. Without this type of interface, enemy weaknesses are not signaled clearly enough to be viable.
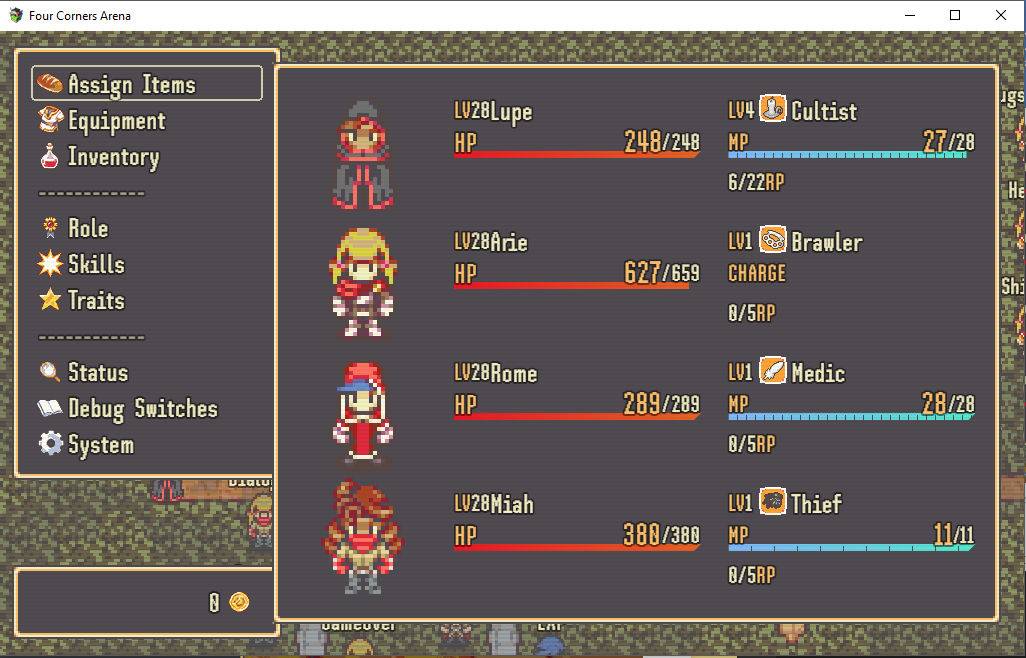
The amazing sprite artist finalbossblues released a side-view battler pack in the Time Fantasy style.
Using this art pack as the base, I grafted my characters existing faces onto other costumes. Each character now has a unique Adventurer outfit. There’s also a shared outfit for each branch of the job tree: Magic-users, Healers, Fighters, and Thieves. That’s 8 different outfits across 4 different characters, and it adds a ton of unique flavour to the game.
Even with a pre-existing base, it’s a time consuming process to create each sprite set.
I decided to give each outfit a pop of red as its primary colour, to keep continuity across the playable characters.
BEFORE:
AFTER:
SH Pinscher replaces Minecraftia as the game’s main font. This is mostly due to questions about Minecraftia’s legalities. But it also comes with much wider support for symbols (useful for arrows) and is generally more stylish.
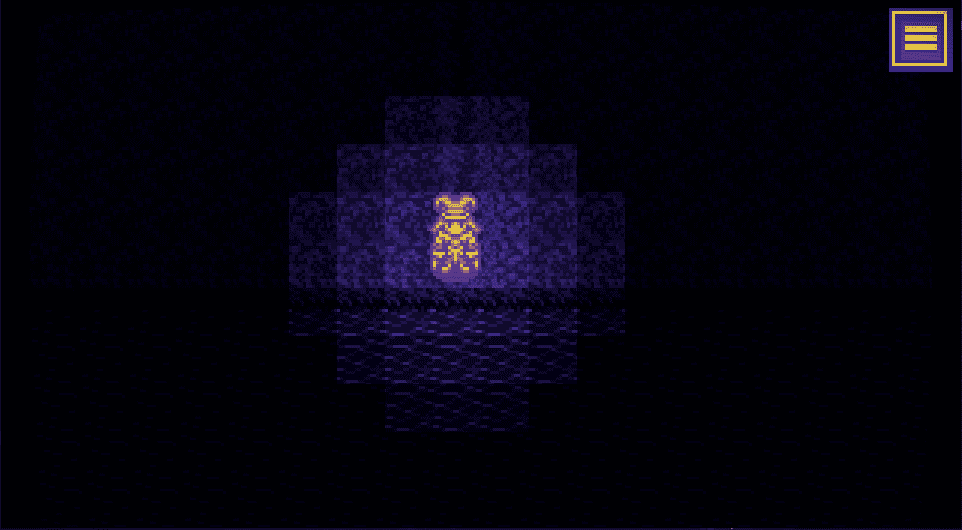
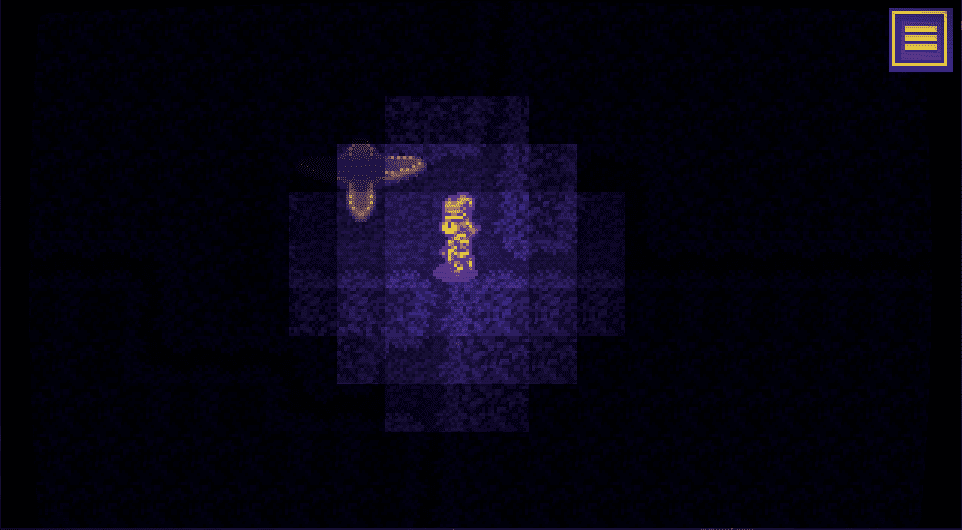
Pixels are cool if you’re a nerd.
I was using a plugin that created a pixelated effect on demand. But after updates to RPG Maker MV (and the Pixi library it’s based on), the plugin broke. When the original plugin writer updated the plugin, they removed the pixelate functionality altogether.
So I went on a search to bring back my crunchy pixels.
I discovered this wonderful library of filters for Pixi v4.
Once again, the pixelate functionality was broken. But Github user jeff-gold-marblemedia posted a quick fix.
Bringing that fix into the main code, and then pairing down the features I didn’t need, I ended up with a handy plugin.
/*:
* @plugindesc v1.0.6 Pixelate filter for Pixi v4.
* @author pixi-filters https://github.com/pixijs/pixi-filters
* @help
* pixi-filters https://github.com/pixijs/pixi-filters
* Developers can make use of the filter like so:
* var filter = new PIXI.filters.PixelateFilter();
* filter.pixelSize = 50;
*/

/*!
* pixi-filters - v1.0.6
* Compiled Wed Aug 31 2016 08:40:25 GMT-0400 (EDT)
*
* pixi-filters is licensed under the MIT License.
* http://www.opensource.org/licenses/mit-license
*/
(function(f){if(typeof exports==="object"&&typeof module!=="undefined"){module.exports=f()}else if(typeof define==="function"&&define.amd){define([],f)}else{var g;if(typeof window!=="undefined"){g=window}else if(typeof global!=="undefined"){g=global}else if(typeof self!=="undefined"){g=self}else{g=this}g.filters = f()}})(function(){var define,module,exports;return (function e(t,n,r){function s(o,u){if(!n[o]){if(!t[o]){var a=typeof require=="function"&&require;if(!u&&a)return a(o,!0);if(i)return i(o,!0);var f=new Error("Cannot find module '"+o+"'");throw f.code="MODULE_NOT_FOUND",f}var l=n[o]={exports:{}};t[o][0].call(l.exports,function(e){var n=t[o][1][e];return s(n?n:e)},l,l.exports,e,t,n,r)}return n[o].exports}var i=typeof require=="function"&&require;for(var o=0;o<r.length;o++)s(r[o]);return s})({8:[function(require,module,exports){ // @see https://github.com/substack/brfs/issues/25 /** * This filter applies a pixelate effect making display objects appear 'blocky'. * * @class * @extends PIXI.AbstractFilter * @memberof PIXI.filters */ function PixelateFilter() { PIXI.Filter.call(this, // vertex shader "#define GLSLIFY 1
attribute vec2 aVertexPosition;
attribute vec2 aTextureCoord;

uniform mat3 projectionMatrix;

varying vec2 vTextureCoord;

void main(void)
{
 gl_Position = vec4((projectionMatrix * vec3(aVertexPosition, 1.0)).xy, 0.0, 1.0);
 vTextureCoord = aTextureCoord;
}", // fragment shader "#define GLSLIFY 1
varying vec2 vTextureCoord;

uniform vec4 filterArea;
uniform float pixelSize;
uniform sampler2D uSampler;

vec2 mapCoord( vec2 coord )
{
 coord *= filterArea.xy;
 coord += filterArea.zw;

 return coord;
}

vec2 unmapCoord( vec2 coord )
{
 coord -= filterArea.zw;
 coord /= filterArea.xy;

 return coord;
}

vec2 pixelate(vec2 coord, vec2 size)
{
 return floor( coord / size ) * size;
}

vec2 getMod(vec2 coord, vec2 size)
{
 return mod( coord , size) / size;
}

float character(float n, vec2 p)
{
 p = floor(p*vec2(4.0, -4.0) + 2.5);
 if (clamp(p.x, 0.0, 4.0) == p.x && clamp(p.y, 0.0, 4.0) == p.y)
 {
 if (int(mod(n/exp2(p.x + 5.0*p.y), 2.0)) == 1) return 1.0;
 }
 return 0.0;
}

void main()
{
 vec2 coord = mapCoord(vTextureCoord);

 // get the rounded color..
 vec2 pixCoord = pixelate(coord, vec2(pixelSize));
 pixCoord = unmapCoord(pixCoord);

 vec4 color = texture2D(uSampler, pixCoord);

 // determine the character to use
 float gray = (color.r + color.g + color.b) / 3.0;

 float n = 65536.0; // .
 if (gray > 0.2) n = 65600.0; // :
 if (gray > 0.3) n = 332772.0; // *
 if (gray > 0.4) n = 15255086.0; // o
 if (gray > 0.5) n = 23385164.0; // &
 if (gray > 0.6) n = 15252014.0; // 8
 if (gray > 0.7) n = 13199452.0; // @
 if (gray > 0.8) n = 11512810.0; // #

 // get the mod..
 vec2 modd = getMod(coord, vec2(pixelSize));

 gl_FragColor = color;

}"
);
  this.pixelSize = 4;
}

PixelateFilter.prototype = Object.create(PIXI.Filter.prototype);
PixelateFilter.prototype.constructor = PixelateFilter;
module.exports = PixelateFilter;

Object.defineProperties(PixelateFilter.prototype, {
  /**
   * This a point that describes the size of the blocks.
   * x is the width of the block and y is the height.
   *
   * @member {PIXI.Point}
   * @memberof PIXI.filters.PixelateFilter#
   */
  pixelSize: {
    get: function () {
      return this.uniforms.pixelSize;
    },
    set: function (value) {
      this.uniforms.pixelSize = value;
    }
  }
});

},{}],16:[function(require,module,exports){
// Require built filters
var filters = {
  PixelateFilter: require('./pixelate/PixelateFilter')
};

// Assign to filters
Object.assign(PIXI.filters, filters);

// Export for requiring
if (typeof module !== 'undefined' & amp; & amp; module.exports) {
  module.exports = filters;
}
},{"./pixelate/PixelateFilter":8}]},{},[16])(16)
});
Chances are there’s a bit of vestigial nonsense near the end. My lack of familiarity with the way Pixi/Node works mean that I can’t optimize it much. But it’s working in all my use cases.
Toss this into a Scene_Map method to apply it. Putting it to good use is up to you.
this.pixelateFilter = new PIXI.filters.PixelateFilter();
this.pixelateFilter.pixelSize = 20;
this.children[0].filters = [this.pixelateFilter];
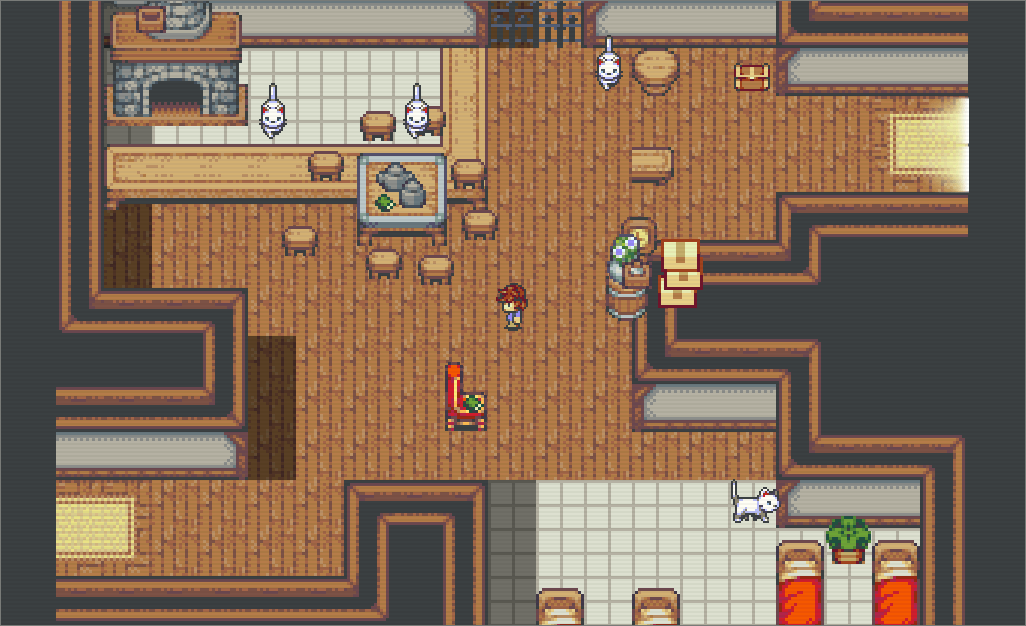
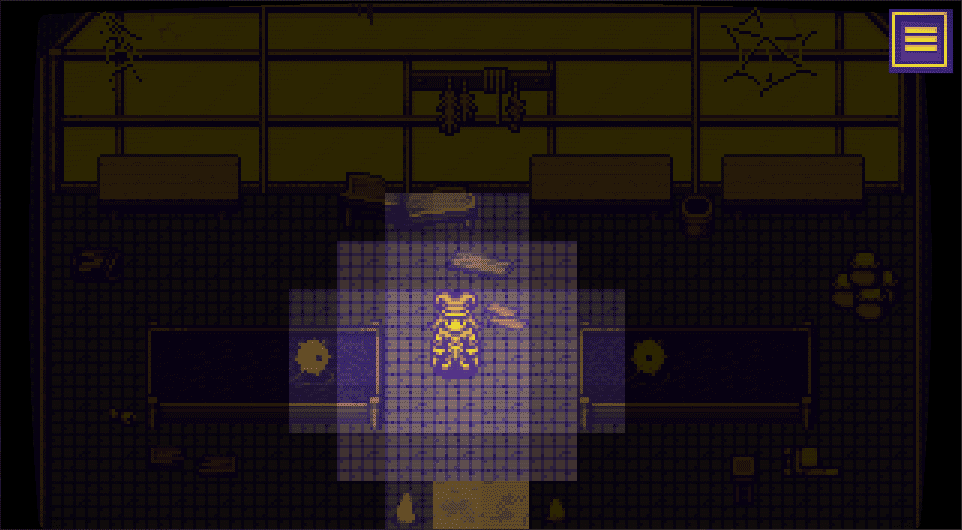
Figuring out what to do with this room. So everyone is a cat.