Exploring Defold and TypeScript

The Defold game engine has been in my bookmarks folder for months now, but I’ve only just recently started to make things with the engine.

Defold fits a number of my criteria for a great game engine:

  • It exports to the web, and performance in the browser is actually good!
  • It effortlessly exports to all other platforms too
  • It’s well suited for 2D games (the editor can plop down objects at nice round X and Y coordinates)
  • It’s free and open-source (technically there are limitations in the Defold license, but nothing that affects making games)
  • It’s extremely well maintained with monthly updates

However, I was initially put off by the use of Lua as its scripting language. I had never used Lua, so that was a barrier to entry. It’s also a dynamically typed language, which is a pain to debug.

Then I discovered the TypeScript community extensions (@ts-defold) for Defold. These tools allow using Defold with TypeScript, a strongly typed language that I already know and enjoy.

It turns out I’m more productive working on tools than games, so here’s what I’ve done so far:

  • Created a TypeScriptToLua (TSTL) plugin that will strip the last extension from files that have multiple extensions. This is used to handle Defold’s specific file extensions, so a file name like `player.script.ts` is output to `player.script` instead of the incorrect `player.script.lua`. This plugin can replace the patch file that come with @ts-defold, so you’re no longer locked to early versions of TSTL.
  • Tweaked the type definitions for the Defold game engine from @ts-defold/types. I’ve been slowly describing more of the types that were left as unknown in the original output. I’m not sure how useful this is to the average developer, but I find it satisfying.
  • Created type definitions for @britzl’s new boom framework.
  • Created a project template that includes all of the above.
  • Created type definitions for @thejustinwalsh’s xmath framework. The comments are copied from Defold’s vmath library, so I’m not sure they’re 100% accurate to xmath’s implementation, but they seem pretty close.

I also played around with using Chat-GPT to generate some native extensions. My C++ knowledge is limited, but I was able to cajole the AI into creating something that actually works.

There are already community extensions that cover these use cases, so I doubt my libraries will see much use. Still, it’s fun to see how easy it is to extend the engine, despite being a complete newcomer.

Clones of Vampire Survivors are in the zeitgeist now, so I’m currently trying to create a really simple one of those. I’ll open-source the whole project when it’s done.
Development Tools

I’m preparing to release my first game soon.

There’s a particular tool that I’m waiting to reach stable release before I use it in production. In the meantime, I’ve been improving my own release workflow.

Build process

I now have a fully automated build process, running on Github Actions. With one click, the build process will take care of the following tasks:

  • Minify JSON files
  • Concatenate and minify JS files with Terser (preserving comments with author/license information)
  • Delete development files not needed in release
  • Delete plugin files that are included but turned off
  • Separate pathways for preparing files for the web versus the local version, so it will delete web-only files if the build is intended for installation, and vice-verse
  • Add the path to every game asset to a precache in the service worker
  • Build the app for Windows and Linux installation with Tauri

Tauri

All my games run in the browser – but some people prefer a download they can run offline.

Enter Tauri. Tauri is a tool written in Rust that will bundle all the assets required to run your web app with a browser engine, allowing it to be installed and run locally.

Unlike NWJS or Electron, competing tools that ship static browser versions, Tauri runs on the most recent webview available to your OS. So you’re always shipping on the fastest, most secure platform possible. Granted, browser engines can frequently introduce new bugs with each release, so I wouldn’t necessarily recommend this approach for sensitive, commercial software. But for a hobbyist like me, it fits.

By default, RPG Maker MV ships with NWJS, so it expects access to Node and its file system module to save and load files. Accommodating Tauri required a few changes to my code.

Tauri Store is a simple to use plugin that allows Tauri apps to save local data. It can store similar data types to a browser’s local storage, the technology that RPG Maker uses in its web version. The major difference is that Tauri’s commands are always asynchronous. Luckily I had already written a new save manager that interfaces with web workers, which are asynchronous as well. So it took less than a hundred new lines of code to get it working with Tauri instead.

I also ended up including Tauri Window State in my build. It’s another easily integrated plugin that saves the app’s window position and fullscreen status, so the next time the app is launched, it starts in the same position as when it exited.

Overall my experience with Tauri has been positive. I’m new to Rust as a language, so I appreciate the official plugins having an extremely simple API that only takes a couple lines of code to run.

I experimented with including Rust crates used for compression, so I could compress data before writing it to Tauri Store. But it was a bit of a mess – Rust is very strict about data types, only serialize-able data can be transferred between the Tauri backend and the webview. I’m sure it’s do-able with a few more weeks of practice, but it’s daunting for a Rust newcomer.

Good luck to the Tauri team, who will hopefully be releasing their stable 1.0 version any day now. I’ll be publishing apps with it soon after.

Update

I’m adding this addendum some months later.

Tauri has reached stable. Congratulations to their team and all the hard work they put into the project.

Ultimately, I decided against using Tauri, and instead built a template around Electron.

There are two deciding factors that ultimately made me favour Electron.

  1. Electron’s WebGL performance is pretty good on all platforms, whereas Tauri uses a different engine for each platform, and my testing on Linux was pretty slow with WebGL content.
  2. Electron allows exporting to raw files without an installer, which is Itch.io’s preferred format.

Adding Pixelate Filter to RPG Maker MV 1.3.4

Pixels are cool if you’re a nerd.

I was using a plugin that created a pixelated effect on demand. But after updates to RPG Maker MV (and the Pixi library it’s based on), the plugin broke. When the original plugin writer updated the plugin, they removed the pixelate functionality altogether.

So I went on a search to bring back my crunchy pixels.

A good alternative

I discovered this wonderful library of filters for Pixi v4.

Once again, the pixelate functionality was broken. But Github user jeff-gold-marblemedia posted a quick fix.

Bringing that fix into the main code, and then pairing down the features I didn’t need, I ended up with a handy plugin.

The code

/*:
* @plugindesc v1.0.6 Pixelate filter for Pixi v4.
* @author pixi-filters https://github.com/pixijs/pixi-filters
* @help
* pixi-filters https://github.com/pixijs/pixi-filters
* Developers can make use of the filter like so:
* var filter = new PIXI.filters.PixelateFilter();
* filter.pixelSize = 50;
*/

/*!
* pixi-filters - v1.0.6
* Compiled Wed Aug 31 2016 08:40:25 GMT-0400 (EDT)
*
* pixi-filters is licensed under the MIT License.
* http://www.opensource.org/licenses/mit-license
*/
(function(f){if(typeof exports==="object"&&typeof module!=="undefined"){module.exports=f()}else if(typeof define==="function"&&define.amd){define([],f)}else{var g;if(typeof window!=="undefined"){g=window}else if(typeof global!=="undefined"){g=global}else if(typeof self!=="undefined"){g=self}else{g=this}g.filters = f()}})(function(){var define,module,exports;return (function e(t,n,r){function s(o,u){if(!n[o]){if(!t[o]){var a=typeof require=="function"&&require;if(!u&&a)return a(o,!0);if(i)return i(o,!0);var f=new Error("Cannot find module '"+o+"'");throw f.code="MODULE_NOT_FOUND",f}var l=n[o]={exports:{}};t[o][0].call(l.exports,function(e){var n=t[o][1][e];return s(n?n:e)},l,l.exports,e,t,n,r)}return n[o].exports}var i=typeof require=="function"&&require;for(var o=0;o<r.length;o++)s(r[o]);return s})({8:[function(require,module,exports){ // @see https://github.com/substack/brfs/issues/25 /** * This filter applies a pixelate effect making display objects appear 'blocky'. * * @class * @extends PIXI.AbstractFilter * @memberof PIXI.filters */ function PixelateFilter() { PIXI.Filter.call(this, // vertex shader "#define GLSLIFY 1
attribute vec2 aVertexPosition;
attribute vec2 aTextureCoord;

uniform mat3 projectionMatrix;

varying vec2 vTextureCoord;

void main(void)
{
 gl_Position = vec4((projectionMatrix * vec3(aVertexPosition, 1.0)).xy, 0.0, 1.0);
 vTextureCoord = aTextureCoord;
}", // fragment shader "#define GLSLIFY 1
varying vec2 vTextureCoord;

uniform vec4 filterArea;
uniform float pixelSize;
uniform sampler2D uSampler;

vec2 mapCoord( vec2 coord )
{
 coord *= filterArea.xy;
 coord += filterArea.zw;

 return coord;
}

vec2 unmapCoord( vec2 coord )
{
 coord -= filterArea.zw;
 coord /= filterArea.xy;

 return coord;
}

vec2 pixelate(vec2 coord, vec2 size)
{
 return floor( coord / size ) * size;
}

vec2 getMod(vec2 coord, vec2 size)
{
 return mod( coord , size) / size;
}

float character(float n, vec2 p)
{
 p = floor(p*vec2(4.0, -4.0) + 2.5);
 if (clamp(p.x, 0.0, 4.0) == p.x && clamp(p.y, 0.0, 4.0) == p.y)
 {
 if (int(mod(n/exp2(p.x + 5.0*p.y), 2.0)) == 1) return 1.0;
 }
 return 0.0;
}

void main()
{
 vec2 coord = mapCoord(vTextureCoord);

 // get the rounded color..
 vec2 pixCoord = pixelate(coord, vec2(pixelSize));
 pixCoord = unmapCoord(pixCoord);

 vec4 color = texture2D(uSampler, pixCoord);

 // determine the character to use
 float gray = (color.r + color.g + color.b) / 3.0;

 float n = 65536.0; // .
 if (gray > 0.2) n = 65600.0; // :
 if (gray > 0.3) n = 332772.0; // *
 if (gray > 0.4) n = 15255086.0; // o
 if (gray > 0.5) n = 23385164.0; // &
 if (gray > 0.6) n = 15252014.0; // 8
 if (gray > 0.7) n = 13199452.0; // @
 if (gray > 0.8) n = 11512810.0; // #

 // get the mod..
 vec2 modd = getMod(coord, vec2(pixelSize));

 gl_FragColor = color;

}"
);
  this.pixelSize = 4;
}

PixelateFilter.prototype = Object.create(PIXI.Filter.prototype);
PixelateFilter.prototype.constructor = PixelateFilter;
module.exports = PixelateFilter;

Object.defineProperties(PixelateFilter.prototype, {
  /**
   * This a point that describes the size of the blocks.
   * x is the width of the block and y is the height.
   *
   * @member {PIXI.Point}
   * @memberof PIXI.filters.PixelateFilter#
   */
  pixelSize: {
    get: function () {
      return this.uniforms.pixelSize;
    },
    set: function (value) {
      this.uniforms.pixelSize = value;
    }
  }
});

},{}],16:[function(require,module,exports){
// Require built filters
var filters = {
  PixelateFilter: require('./pixelate/PixelateFilter')
};

// Assign to filters
Object.assign(PIXI.filters, filters);

// Export for requiring
if (typeof module !== 'undefined' & amp; & amp; module.exports) {
  module.exports = filters;
}
},{"./pixelate/PixelateFilter":8}]},{},[16])(16)
});

Using the filter… for nerds

Chances are there’s a bit of vestigial nonsense near the end. My lack of familiarity with the way Pixi/Node works mean that I can’t optimize it much. But it’s working in all my use cases.

Toss this into a Scene_Map method to apply it. Putting it to good use is up to you.

this.pixelateFilter = new PIXI.filters.PixelateFilter();
this.pixelateFilter.pixelSize = 20;
this.children[0].filters = [this.pixelateFilter];

Changes to dual-wielding

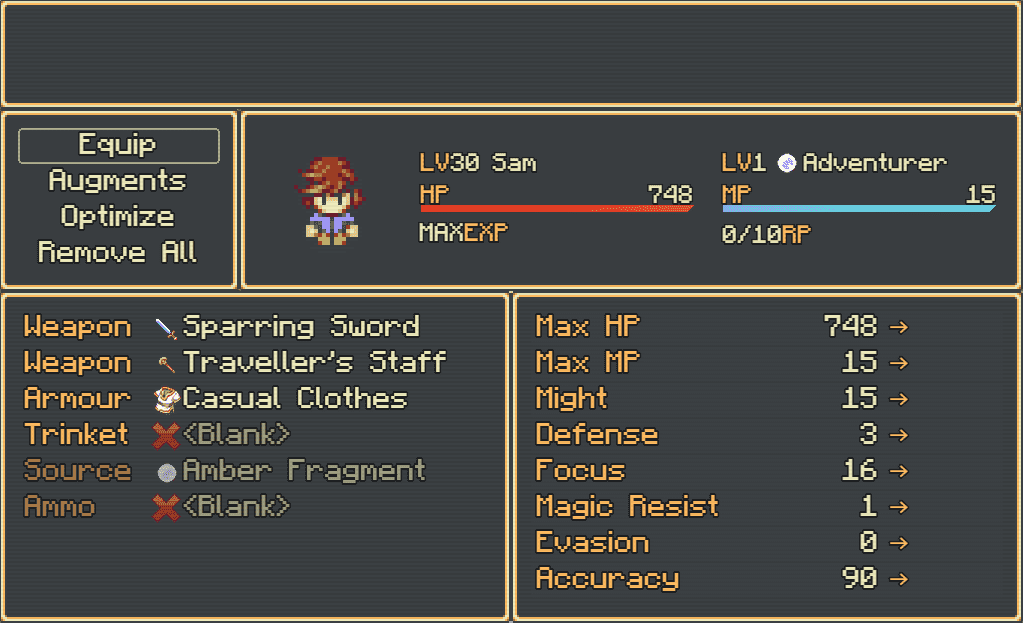
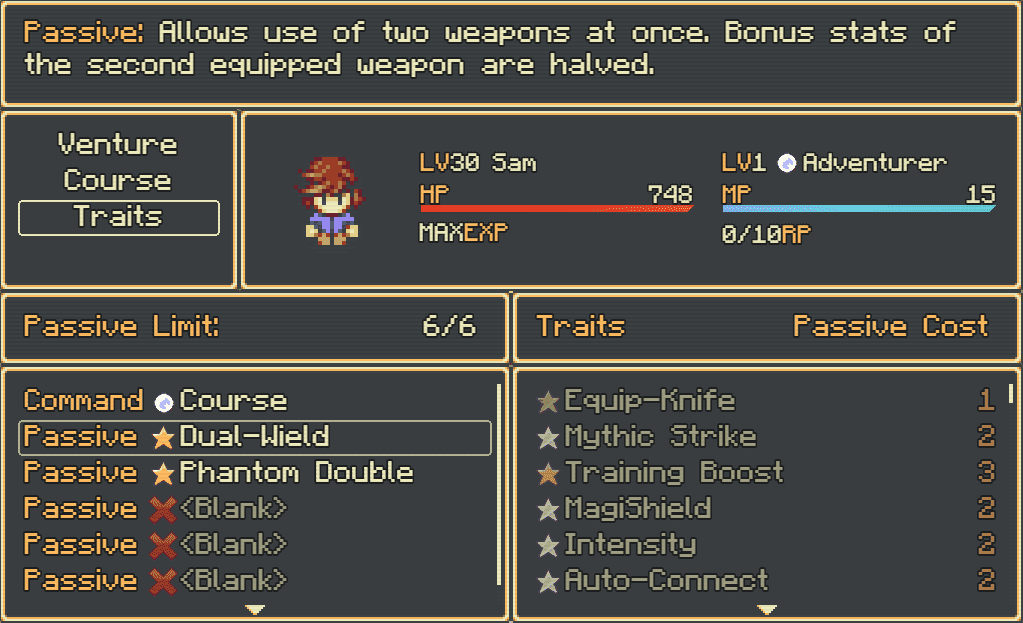
Dual-wielding is the concept of holding a weapon in each hand instead of a weapon and a shield, or a two-handed weapon. It’s a fun way to give your characters more options for customization. The problem with the way RPG Maker MV handles dual wielding is that there’s no visual feedback from it. Your attack animation still only hits one time, no matter how many weapons you hold.

Plugin woes

I’ve been using a plugin to fix this issue. But it’s been giving me grief, randomly changing my character’s stats between each weapon swing and leaving them permanently altered. The plugin’s support was shaky anyway, so rather than spend time troubleshooting, I looked for an alternative.

A practical solution

RPG Maker forums user Arkzein shared a code snippet using Yanfly’s action sequences to simulate a proper dual-wielding effect.

It does what it should quite elegantly, allowing the user to swing each weapon individually and letting those hits have different strengths depending on the weapon’s strength. I added a few extra features to it, including

  • a check to see if the weapon fires long-distance, or if the player should approach their target before the attack begins.
  • a check to see if the user is carrying two weapons (so it acts like a regular one-hit attack for users with one weapon).
  • a check to see if the 2nd weapon has a different animation than the first (otherwise it just repeats the first animation).

Sample code

Here’s the snippet in full:

// M.o.v.e. forward a little i.f. firing a missile
if user.attackMotion() == 'missile'
  move user: forward, 48, 10
  wait for move
else
// M.o.v.e. to the target
  move user: target, front base, 10
  wait for move
end

// I.f. the user has multiple weapons + dual-wield
if user.weapons().length > 1 && user.isStateAffected(129)
 EVAL: user._weap1 = user.weapons()[0];
 EVAL: user._weap2 = user.weapons()[1];
 // Unequips second weapon
 EVAL: user.forceChangeEquip(1, null);

 // 1st weapon attack
 MOTION ATTACK: user
 MOTION WAIT: user
 action animation
 wait for animation
 action effect

 EVAL: user.forceChangeEquip(0, user._weap2);

 // 2nd weapon attack
 MOTION ATTACK: user
 MOTION WAIT: user
 // animation of 2nd weapon
 EVAL: target.startAnimation(user.weapons()[0].animationId);
 wait for animation
 action effect

 // Restores weapons
 EVAL: user.forceChangeEquip(0,  user._weap1);
 EVAL: user.forceChangeEquip(1, user._weap2);

else
 // Regular 1 weapon attack
 MOTION ATTACK: user
 MOTION WAIT: user
 action animation
 wait for animation
 action effect
end

The weird dots in the comments are because action sequences don’t have the concept of comments. So if I didn’t put dots in between the letters of “i.f.” it would be interpreted as a programmatic if statement.

Merging updated scripts

The developers supporting RPG Maker MV (the engine behind FCA) released a fairly significant bug into the code with version 1.3.2. It relates to the way skills are learned, and since that’s a significant factor in the gameplay of FCA, I decided to refrain from updating my codebase.

Updating to 1.3.4

They just recently fixed the bug. So I went through and updated all of the core scripts (from 1.3.1 to 1.3.4) and all of Yanfly’s scripts.

To my surprise, FCA still boots up properly and I’m even seeing a huge improvement in how battles perform (better frame rate). But I’m seeing more stuttering on the regular map screen.

Time to run the rest of my tests and see what’s broken!

Skills targeting friend or foe

A lot of skills in this game fall into both of these categories:

  1. Can target friend or foe
  2. Hit multiple targets at once

… which is more complicated that it seems. By default the engine lacks support for the player changing targets between friends and foes.

Attempt one

At first I used Yami’s Invert Target. It’s a buggy mess. A community-created compatibility patch fixed it for a while, but eventually it started to give me errors again.

Yanfly to the rescue

I recently switched to Yanfly’s Selection Control. It’s a solid plugin, compatible with Yanfly’s other works. But it still doesn’t support both of the conditions I mentioned. You can either have a skill toggle between friend and foe, OR have it hit multiple targets.

I compromised by writing this block of code for each of my multi-target skills:

for (var i = 0; i < target.friendsUnit().aliveMembers().length; ++i) {
 var member = target.friendsUnit().aliveMembers()[i];
 targets.push(member);
}

After the player selects a target, all of the target’s allies are added into the scope of the attack.

It’s still not the most elegant solution – the selection cursor only appears over one target at a time – but it’s stable and it works.